


How to Install Anaconda on Windows Step-by-Step. The data science and machine learning community uses Anaconda as the primary and most popular distribution platform for Python and R programming languages because it makes installing programs like PySpark, pandas, Numpy, SciPy, and many more easier.
Steps to Install Anaconda on Windows
Step 1. Download Anaconda windows version
Step 2. Install Anaconda
Step 3. Create Anaconda Environment
Step 4. Install and Run Jupyter Notebook
1. Download & Install Anaconda Distribution for Windows
Follow the below step-by-step instructions to install Anaconda distribution on windows.
1.1 Download Anaconda Distribution
Go to https://www.anaconda.com/ and select Anaconda Individual Edition to download the latest version of Anaconda for windows. This downloads the .exe file to the windows download folder.


1.2 Install Anaconda on Windows
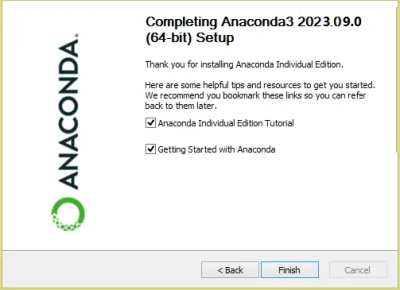
Double click the .exe file to start the Anaconda installation, follow the below steps to complete the installation on windows
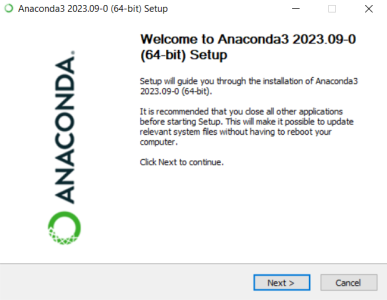
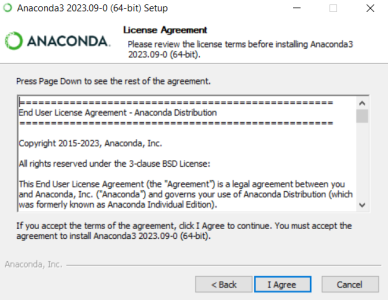
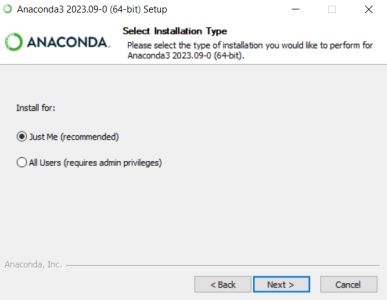
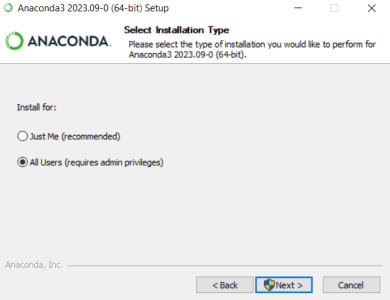
Select as per your requirement
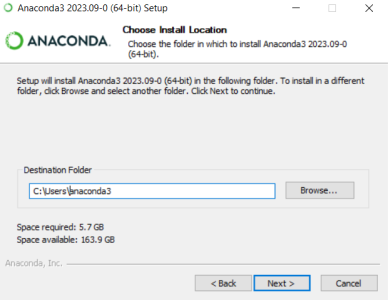
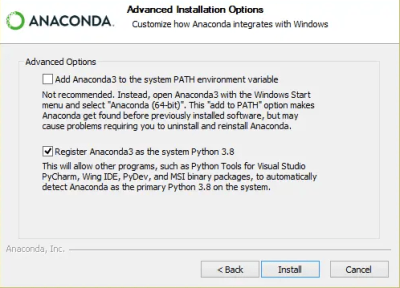
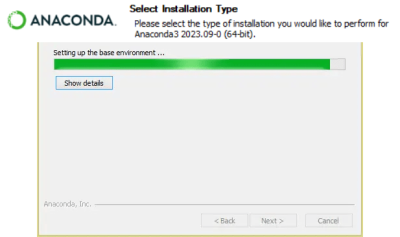
2. Create Anaconda Environment
A conda environment is a directory that contains a specific collection of conda packages that you have installed. For example, you may have one environment with NumPy 1.7 and its dependencies, and another environment with NumPy 1.6 for legacy testing.
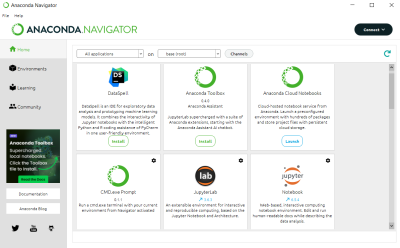
2.1 Open Anaconda Navigator
Anaconda Navigator is a UI application where you can control the Anaconda packages, environment etc, Open it from windows start or by searching it.
2.2 Create an Environment
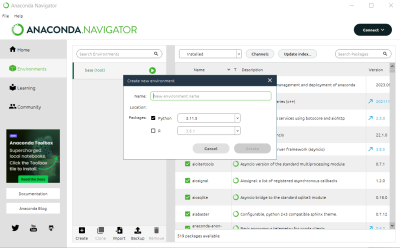
Although it’s not required, it’s advised to construct an environment before moving farther. This allows for total separation of various package installs for the various projects you might be working on. You can also use an environment that you already have.
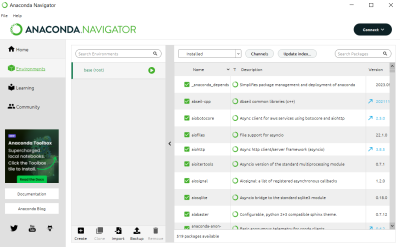
select + Create icon at the bottom of the screen to create an Anaconda environment.
3. Install and Launch Jupyter Notebook
Once you create the anaconda environment, go back to the Home page on Anaconda Navigator and install Jupyter Notebook from an application on the right panel.
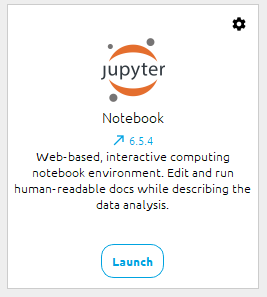
It will take a few seconds to install Jupyter to your environment, once the install completes, you can open Jupyter from the same screen or by accessing Anaconda Navigator -> Environments -> your environment (mine pandas-tutorial) -> select Open With Jupyter Notebook.

This opens up Jupyter Notebook in the default browser.
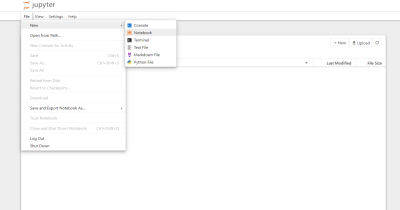
Now select New -> Notebook. On Jupyter, each cell is a statement, so you can run each cell independently when there are no dependencies on previous cells.
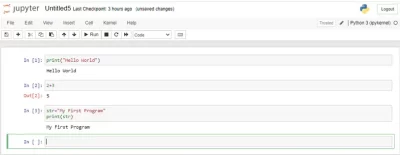
This completes installing Anaconda on windows and running Jupyter Notebook. I have tried my best to lay out step-by-step instructions.
Conclusion:
This post has shown you how to use a Jupyter notebook and install the Anaconda distribution on Windows. In the data science and machine learning field, Anaconda is the most popular distribution platform for Python and R programming languages since it makes installing packages like pandas, NumPy, SciPy, and many others easier. An interactive web UI environment for creating notebook papers in the Python and R languages is called Jupyter Notebook. Plots, code completion, rich media, and statements akin to those found in REPL are also supported by Jupyter Notebook documents.

Can anyone for God’s sake make a video for noobs? Jesus. REPLY ON YOUTUBE
yes we will creating soon all videos is available here: https://www.youtube.com/@Pyresearch/videos